Most clips are ready as-is. When one needs a tweak, tap it on the clip screen to open the editor.
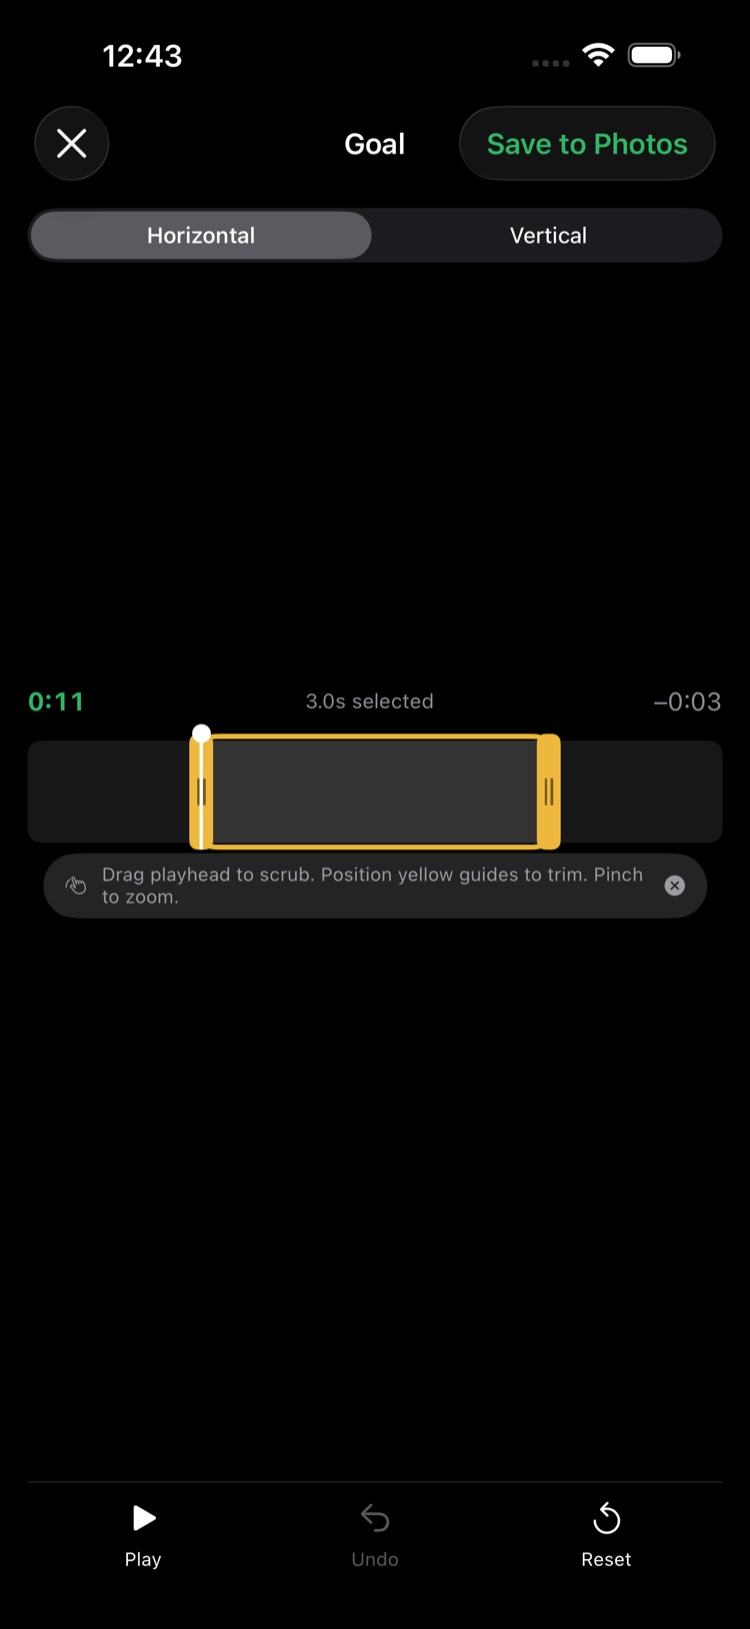
- Drag the playhead along the filmstrip to move through the clip.
- Drag the yellow guides to set where the clip starts and ends. You can pull them outward, too — the whole quarter's video is behind your clip, so if the play started earlier than your mark caught, just drag the start back until it's all in.
- Pinch the video to zoom in if the action is far away. The readout shows how close you are (up to 2×), and the zoom is saved with the clip.
- Tap Save to Photos (top right) to save this version. Made a mess instead? Undo steps back one change at a time, and Reset returns the clip to its original window.
A readout under the video shows how long your clip is — a good highlight is usually well under 30 seconds.
Your edits are remembered
Your trim saves itself — close the editor any time and come back next week, and everything is exactly where you left it. If your latest trim isn't in Photos yet, ClipPin checks on your way out; Not yet is always safe. Reopen the same clip any time to adjust it and save again. Each save is a fresh video in Photos; nothing gets overwritten.
Want the tall version?
Every clip can also be framed tall for texting and social — see Make a Vertical Clip for Social.
Next: Save Your Clips to Photos · Make a Vertical Clip for Social
Still stuck? Email us at hello@getclippin.com.